Men's Toiletry Bag

  • Suzy Sew Free - Home
  • Free Patterns
  • Wallets
  • Totebags
  • Trinity Sewing Group
  • Hand bags and purses
  • Messenger Style Bags
  • Miscellaneous
  • 2025
  • 2024
  • 2023
  • 2022
  • 2021
  • 2020
  • 2019
  • 2018
  • 2017
  • 2016
  • 2015
  • 2014
  • 2013
  • Men's Style Wallet
  • My Awesome Wallet
  • Cork Ladies Wallet
  • Handmade-wallet
  • My First Wallet
  • lent-2018 - Womanspace cosmetic pouch
  • Toiletry Bags for Arm in Arm
  • Lent 2017 Womanspace totebags
  • Blue Advent Quilt
  • Cosmetic Pouch with velcro closure
  • Flat Zipper Purse
  • Casual Handbag with Zip
  • Zippered Shoulder Strap bag
  • Pencil Case or Wash Bag
  • Zippered Handbag
  • Handbag with Zip Panel
  • Bucket Bag
  • Slouch bag
  • Quilted Slouch Bag
  • Messenger Bag
  • Sew Powerful Purses
  • Lizzy's Blue Batik Messenger bag
  • Small Cross Body Purse with Zip
  • Messenger Purse
  • Bright Pink Batik Bag
  • More Messenger Bags
  • Cork and Batik Cross Body Bag
  • Small Messenger Bag
  • Yoan's Backpack
  • Pillowcases and Cushion Covers
  • Chair Cushion
  • Cushion Covers No Zip
  • Tool bag
  • Cutlery Holders
  • Magic Cathedral Window Instructions
  • Magic Cathedral Window Block
  • Quilted Book Cover
  • Doggie biscuit bag
  • Hanky Holder
  • Small Fabric Gift bags
  • Oven Mitts
  • Divided Caddy
  • Face Masks
  • Daypack or Backpack
  • Project Bag with Clear Vinyl
  • Scandinavian Christmas Stars
  • Toiletries Bag with interior vinyl pocket
  • Men's Toiletry Bag
  • Toiletry Bags
  • Bow Tie
  • Upcycled Mittens from old sweaters
  • Spring into Summer Zipper top handbag
  • Creations for Donations
  • Improv Cross body bag
  • Bags for 12 Children in Nepal
  • Springtime quilt
  • Orange Modern Quilt
  • Hazel's baby quilt
  • Cheryl's quilt
  • Mamgu's quilt
  • Rashmi's quilt
  • Road to Jerusalem
  • Serena's quilt
  • Susan's quilt
  • Trinity Strings banner
  • Spring time applique tulip wall hanging
  • Christianne's quilt
  • Lolly's-florescent-quilt-and-cushions
  • Celeste's Christmas applique wall hanging
  • Artist's Pad and Pencil Bag
  • Quilted Beach Bag tote
  • Coasters and Table mats
  • Lizzy's quilt
  • Oscar's quilt
  • Daisy's quilt
  • Irish Chain Quilt
  • Alex Jane's Cherry Quilt
  • Gareth's quilt


2020

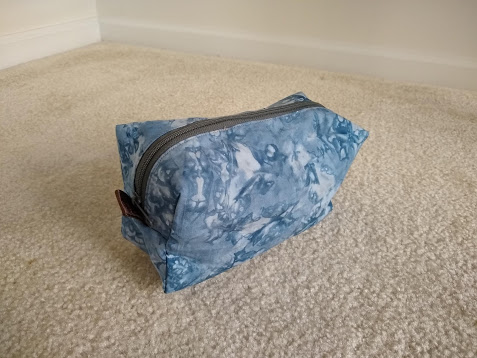
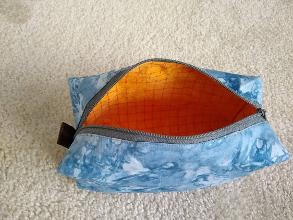
I've been wanting to learn how to make this style of bag and have now found out how to do it! In this bag, the zipper extends halfway down the sides so you can open it wide to see the contents. If you're not an experienced bag maker, then make the Debbie Shore version first (it is similar but doesn't open as wide) because you'll learn how to sew the cut out corners and gain more of an understanding of this kind of bag construction.
Although this is not the best instructional video, it's still helpful (and very funny) to see him at work. I've made detailed instructions below.
 After watching a bunch of YouTube videos to try to find an easy method, I came across Cornelius Quiring's videos which are hilarious! I'm so glad I found it because it's a really cool  method and the end product is just what I wanted. The lining is finished beautifully - no zig zag edges inside like so many other versions of this bag.

Here are my instructions to help follow Cornelius' design in his video.
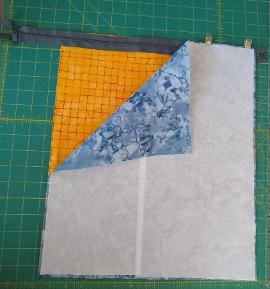
Cut 2 pieces of fabric, both 14" by 16" and fuse woven interfacing to the wrong sides. One will be the lining and the other is the outer fabric.

Place 18 inch zipper on top of 14 inch edge of lining (both RS up). Place outer fabric RS down on top. Sew using zipper foot. 
Flip fabric so rights sides are showing and top stitch. 
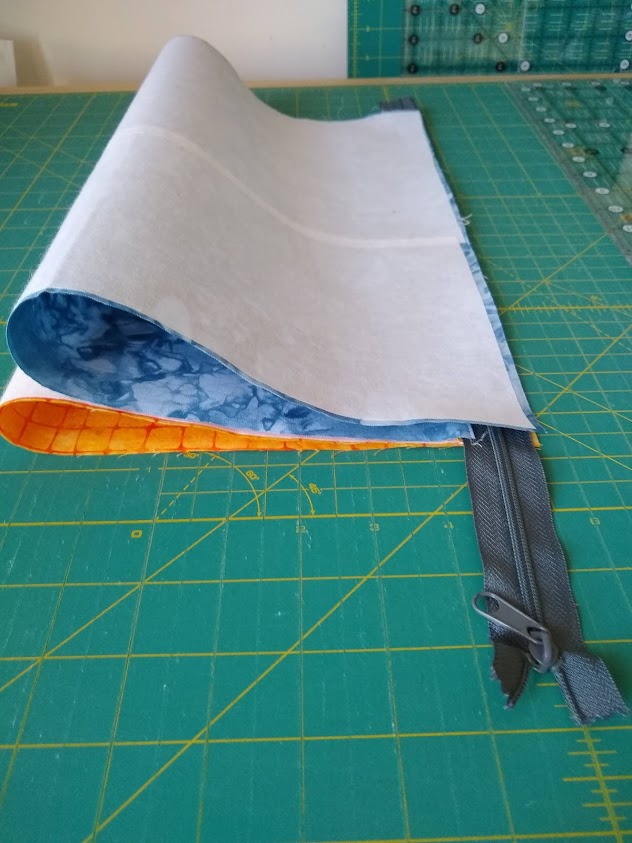
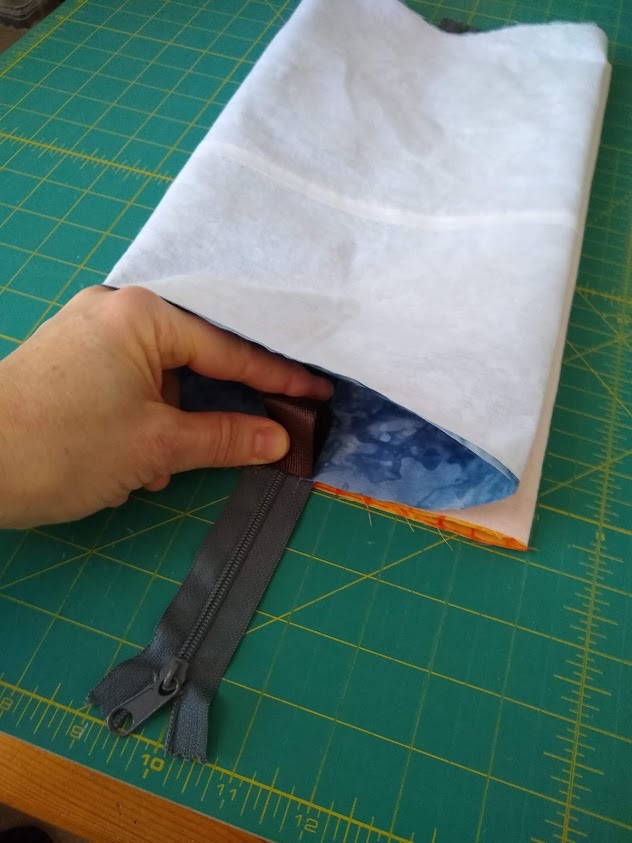
Take the ends and fold up onto the zipper. 
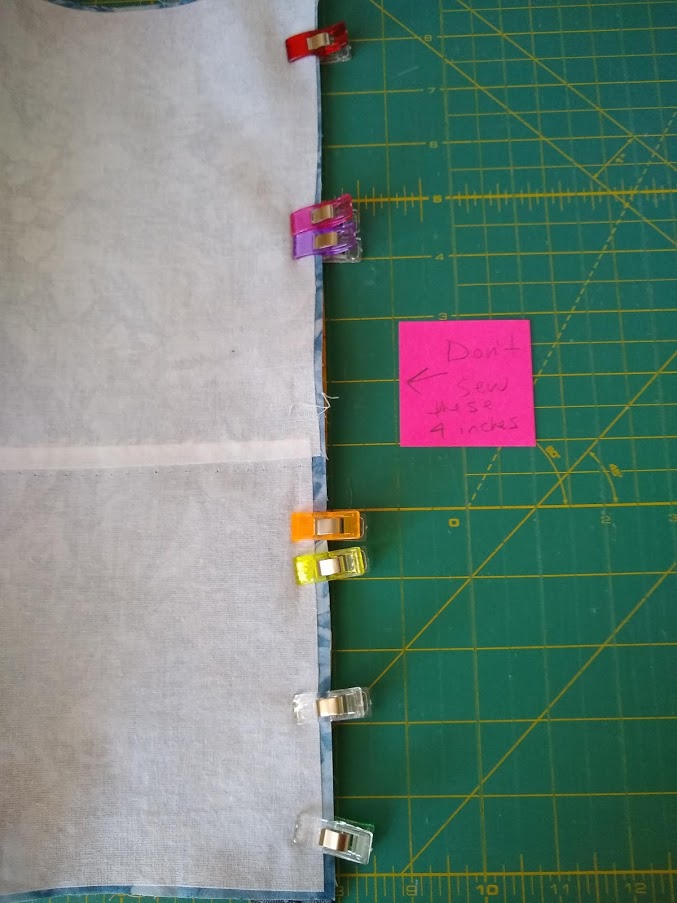
Sew only 5 inches from each edge to center leaving a gap about 4 inches in the center.

Turn right sides out so you can topstitch the places where you just sewed (not the center - you can press that seam under with an iron) 


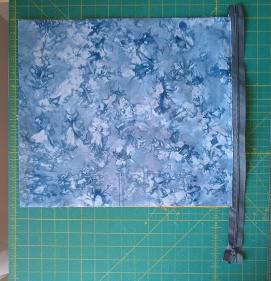
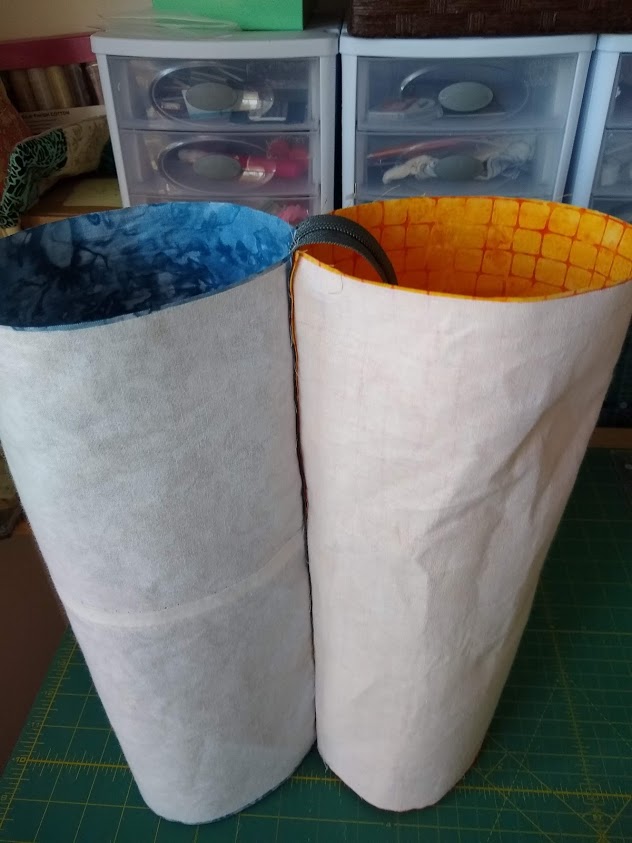
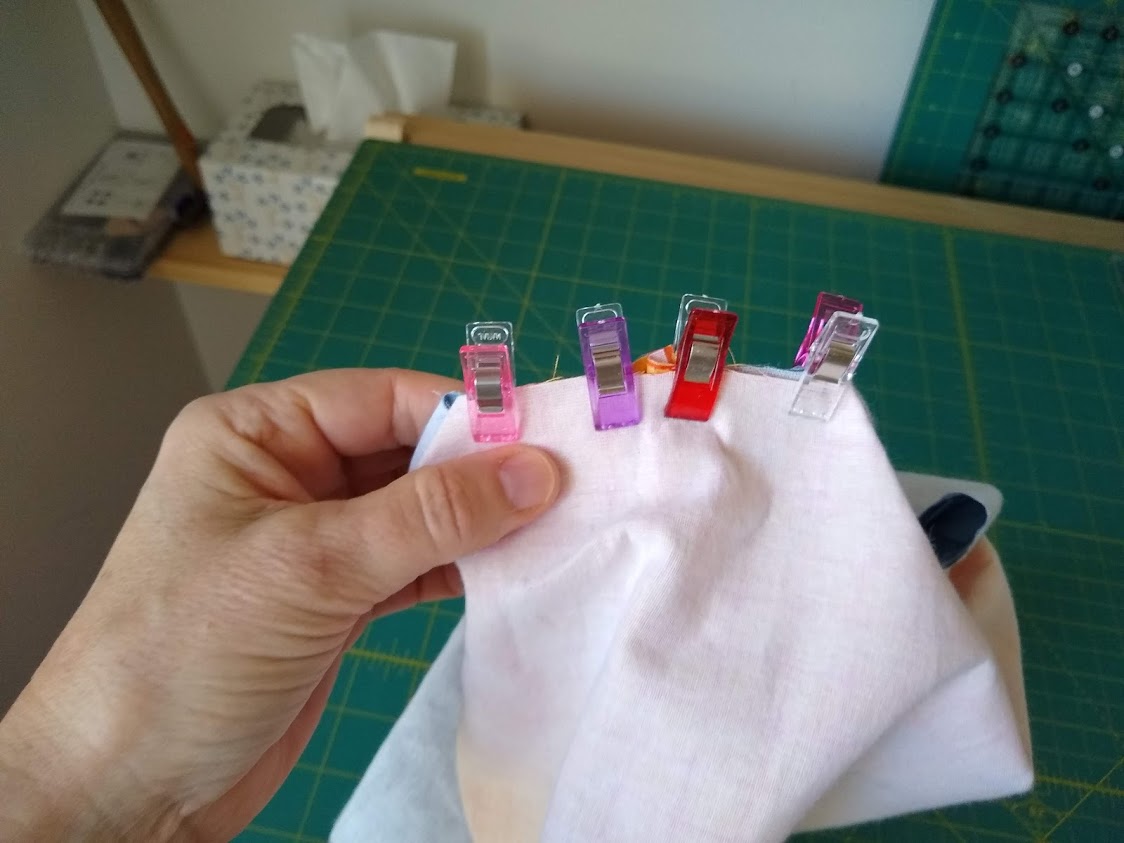
Now turn everything wrong side out again and you'll have two cylindrical shapes. Press them together so that the zipper runs down the center evenly.
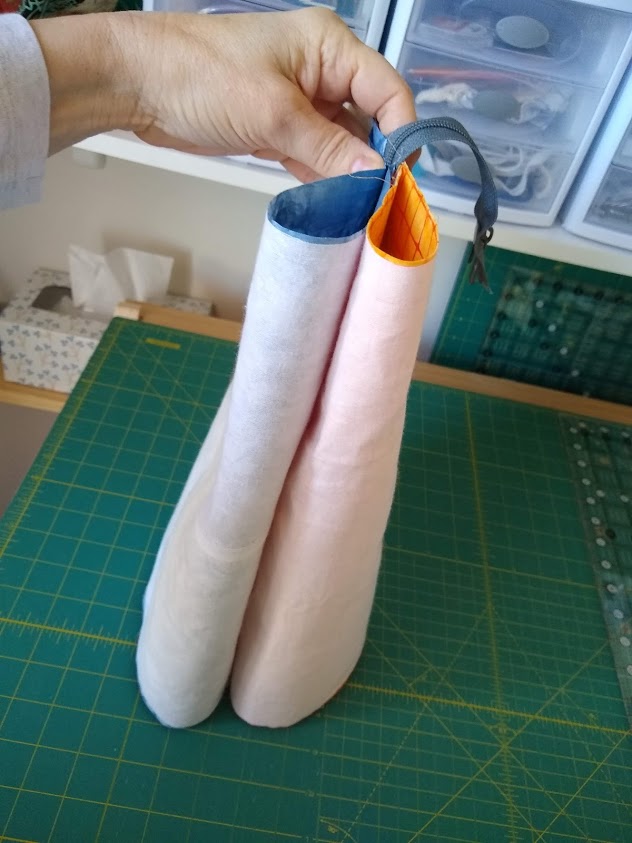
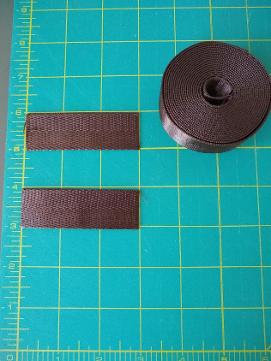
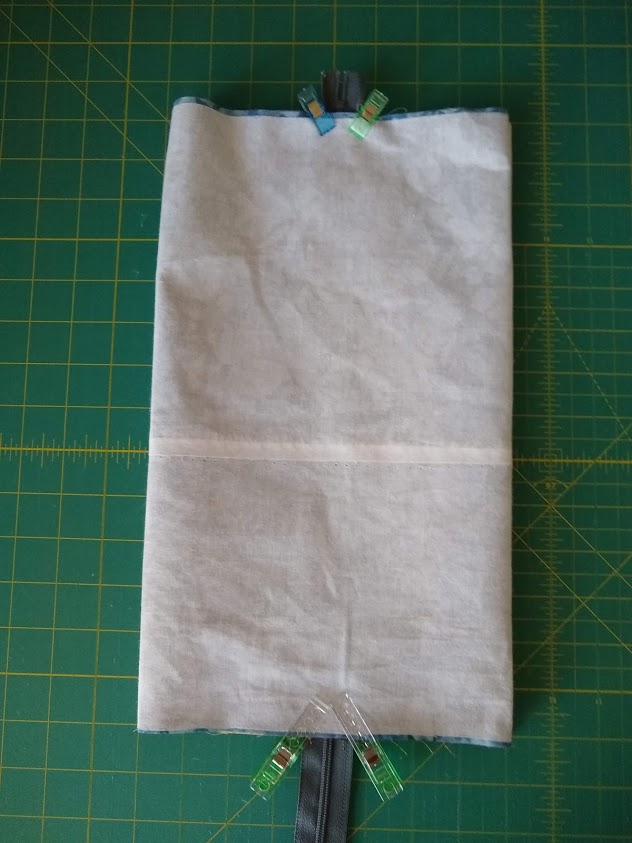
Important: UNZIP THE ZIPPER NOW! The photo below shows that I haven't done that.  I had to take the piece of webbing out, unzip the zipper a few inches and then place the folded piece of webbing at the edge of fabric on top of the open zipper (as well as placing the other piece of webbing at the other end).

Cut two 3 inch strips of webbing, fold in half and slip under fabric right on top of each zipper end. Make sure raw edges are lined up so that they will be caught in the seam.
Stitch along each end. Then trim the zipper ends that stuck out.

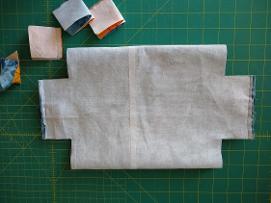
Now mark a 2 inch square at each corner.
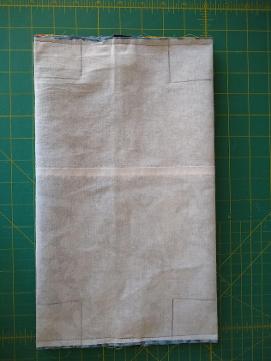
Cut out the corners. Now is the tricky part, especially if you haven't done this before. Take one corner and you'll have two pieces of fabric (the lining and the outer) and pull each one apart and realign it as you would a paper fortune cookie (you remember making them as a child?) 
Match the two fabrics side by side and sew this seam making sure to back stitch and beg. and end.
Once you've done this with all 4 corners, turn the bag RS out and sew the opening at the zipper closed. 
Finished size is 9 inches long, 4 inches wide and 4 1/2  inches high.